


How to outline image in Photoshop
How to Outline Image in Photoshop: You should see them all on time. Those awesome looking round images without background with white background. I really like the way these look. If you are reading this, you almost certainly do too.
It appears that this can be a simple thing to try to do. It was not as easy as I expected. After a fast search of Google, I noticed that it was actually more involved than a single touch on the surface.
I wrote this blog post because I wanted to simplify it to the maximum amount for you.
This is an honest time from my side to tell you that for this tutorial, you have to buy Photoshop… I have not found a free option, which will do white outlines around images like I am getting to show. you.
Here’s how to add an outline around images in Photoshop.
Step 01: Open The Image in Photoshop Do you Want to use
Open Photoshop, choose “Open” then select the image you want to figure with the bus.

You can also create a replacement file and drag the image onto the background, but I prefer to open the image as it doesn’t need to remove multiple background layers (you’ll just delete one).
Step 02: Select foreground from background
Once you start your project, you will use the fast selection tool to select the world you just want to separate.
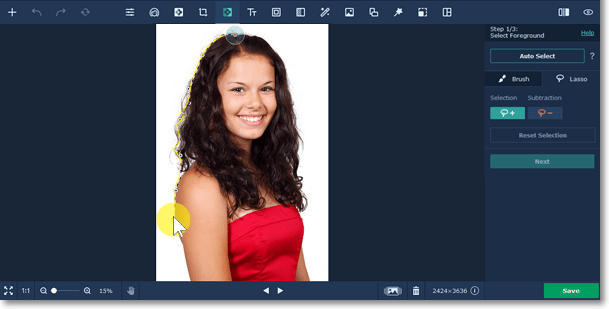
How to Outline Image in Photoshop: If you have got a well-defined background, it is often very easy. If not, you’ll have to do a touch harder task to urge the foreground cut off from the background.
If parts of your image are not properly recognized by the fast selector tool, you must use the + and – feature to select parts that should not be included in the foreground and which should not be included.
The zoom feature is your companion when fixing your images. If you allow too many rough edges, it looks really weird on its own. Focus as much as possible and make sure to get rid of the background and keep the foreground as close as possible.
I do not insist on trivial matters and will sometimes crop the image further to avoid over-editing.
This part may take a tactile exercise. If your image is freed from strong shadows and other contrasts, then you should not have an excessive amount of trouble using just the sharp selector.
Step 03: Copy and paste foreground
Once you have selected your foreground, you must bring it forward “by re-pasting it as your layer and pasting it”.
On a Mac, CMD + C then use CMD + V.
On PC, use CTRL + C then CTRL + V
This will “separate” the part you have selected and can now show that it is your own.
Step 04: Remove the Original Layer
If you have the image pasted into a replacement project, you should have 2 layers if you opened the image straight and three
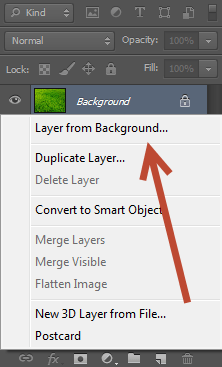
- Original image
- The foreground image you selected (the part you want to keep)
- Original background (only if you pulled the file).
Remove the first image and therefore the original blank background (if applicable).
You will be left with only the chosen foreground with a transparent background.
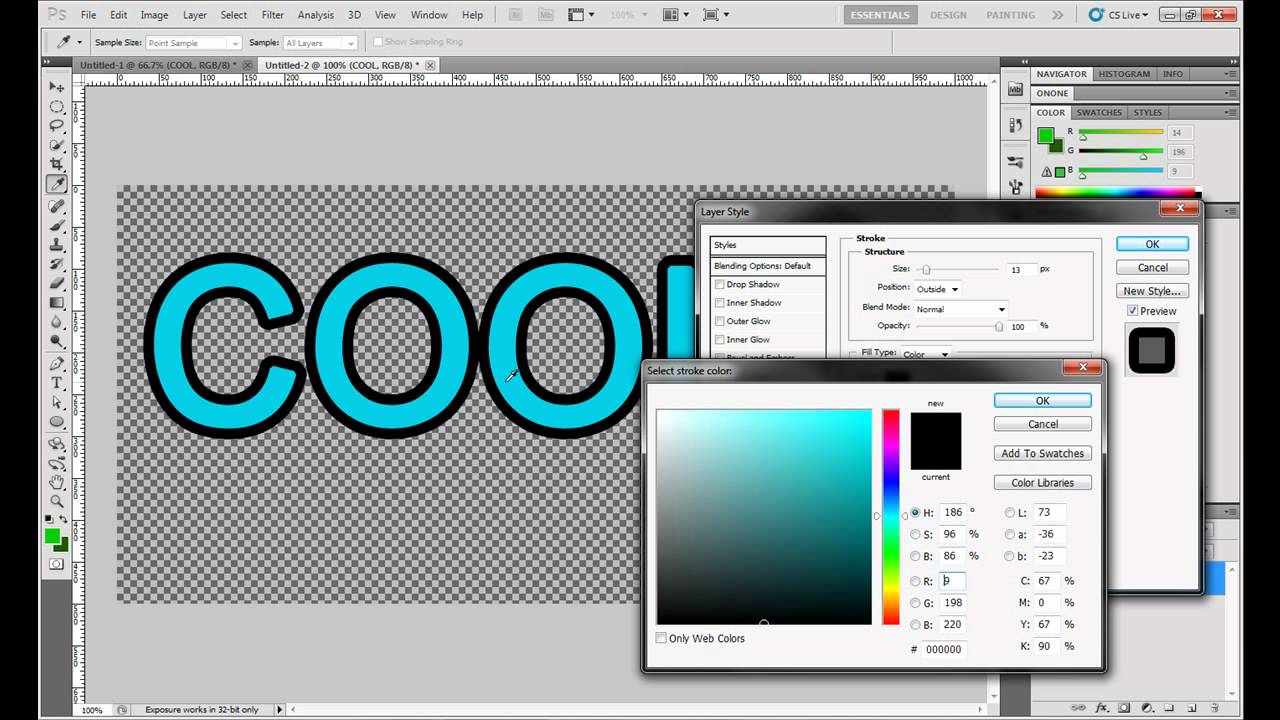
Step 05: Select “Blending Options” on the foreground layer
Now that you have just one layer, right-click on it and choose “Blending Options“.
Step 06: Select Stroke
From the blending options, select “Stroke”. Once you do, you should see an outline around your image.

You can see this (width, color, etc.) from the blending options.
Step 07: Download the Final Image
How to Outline Image in Photoshop: Once you add your stroke and remove your background, you will export the file as a PNG file and use it in other tools like Canva or Relay That to finish your thumbnail.
If you want to use Photoshop for the whole thing, choose it! I love canvas
Here is the result I just made (in Canva, after the step I just showed).
How to thicken the strokes of your line drawings in Photoshop
If you want to thicken the stroke of your delimitation, duplicate your original layer a second time and move the new layer you just adjusted (the layer with the color dodge blend mode).
Choose Filter> Filter Gallery … from the dropdown menu at the highest of the Tools window.
Under Stylize, choose Glowing Edges. Here, you will adjust the sting width on the right side of the window. Reducing the edge brightness will eliminate the clear edge.
Back in your layer, click CTRL + I (COMMAND + I on a Mac) to invert the layer, and change the layer blending mode to multiplication.
The outline of your image will now be thicker and darker.
How To Outline Text In Photoshop
Add a text to a new layer.
Double click on the text layer to open the layer style window. To create an overview, add a stroke layer style. Choose the position of the stroke that you just like. You’ll choose outside, inside, or center count on your font type.
If you only want the outline of the text, then you have to set the layer fill to 0%.
When you add a text outline or a stoke you’ve got to regulate text spacing in Photoshop. The tracking is that the difference between each character. You will find the Tracking Adjustments menu just below the Go to Character palette.
Apply multiple strokes to text in Photoshop
If you change the text layer to a sensible object you will add another outline. Right-click on the layer and click Convert to Smart Object. Add another stroke layer style.
Conclusion
Once you use the layer style panel and stroke options, learning how to outline a picture in Photoshop is simple. This system streamlines the method and makes it easier to regulate the dimensions of the outline. Best of all, you’ll add additional effects within the layer style panel, such as gradients, patterns, or multiple stroke colors!
Read More
How to Remove an Object in Photoshop CS6 | Clipping Path Client Inc.
Remove Background In Photoshop 2020 Online – Remove Background
How To Cutout Images into White Background in Photoshop | Clipping Path
How to Get Refine Edge in Photoshop CC | Clipping Path Client Inc.
How to Use Transparent Images On Photoshop | Transparent Images