How to Cutout Product In Photoshop
In This Articles,We will Discuss About how Cutout product photography in Photoshop. We will just edit this one on Photoshop and We will show you the techniques to delay the other things over there and this is a product from for the Image.
Open The Photoshop
Let’s go to the Photoshop We are just simply dragging and drop it on the Photoshop. it’ll take some times if your Computer conversion is higher then it will not takes too much time. at this one is the raw image that means any file the RAW format.
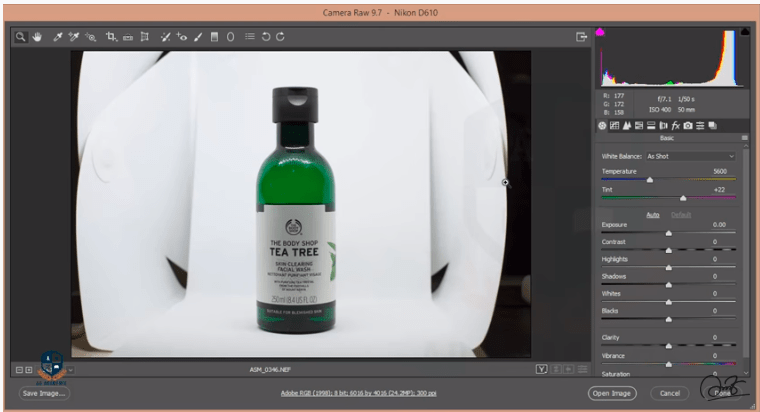
We took this Image in a raw format which is Nikon 610 and 300 dpi 24 megapixel and this one is window is a camera raw filter.
At first when you will open photo or raw photo on Photoshop it will open on Camera Raw filter then if you press the open image it will go to the art book.
Then There is lots of the unnecessary things this one is a studio,mini studio which is embedded with the LED. We just got this Image/Product in last evening and then here is lots of unnecessary thing.We will reduce this one how to do that.
Open Selection Marquee Tools
Go to the selection rectangular marquee tool and mark the area and then press Ctrl J another layer. we took and then we’ll take new layer new the blank layer and we’ll fill this layer according to this color.
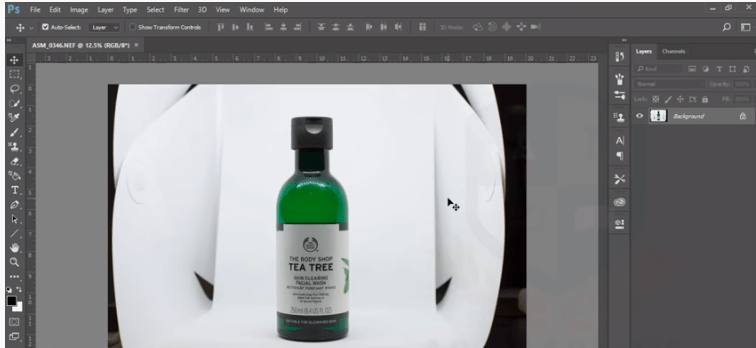
Go to the Color Picker you pick color hit OK and place alt delete. again and this is not actually matched with this one and we’ll now match with the background what should we do.
Open Quick Selection Tools
We’ll go to the quick selection tool and carefully select all the areas of the bottle be careful about the age because of product photography is very sensitive things.
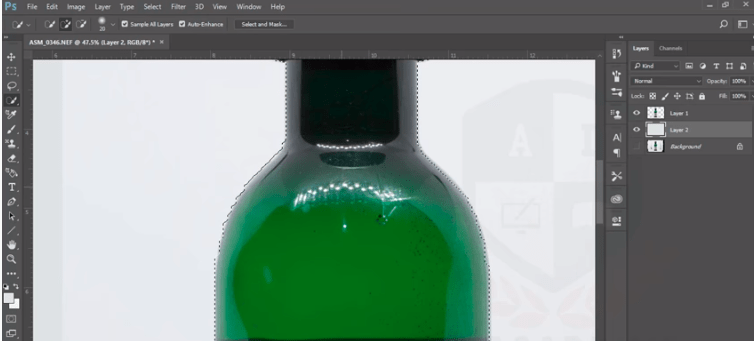
If you miss some Edge and client Wound;t be happy and it could be also experience ever.okay be careful you can also use the paint tool for using selection the things are magnetic lasso tool make sure that the shadow or not selected.
OK.,We are selected you know these they are not this layer and my product in this layer you have to select this layer and then mask it.OK, Gone Boom and Now We no need to keep this layer .we are deleting this one or you can keep this layer for your safety because of you have to edit this one further then you will need this thing. Now We’ll show you how Cutout Product & remove Background Image In Photoshop.
Outsource Cutout Product to a photo-editing company
Companies like Clipping Path Client focus on Cutout Product & remove background from product photography. once you use a service, you buy image editing as you would like it, as you’d with a freelancer.
The difference a corporation can accommodate more images at a time. Plus, these companies usually have very quick turnaround times. At Clipping Path Client, we send your images back in as little as 6 hours.
Photo-editing companies employ many skilled designers and production assistants, so there’s always someone on staff who can get your image right. and since these people have constant training as an in-house designer or freelancer, edited images are top quality and professional.
Companies also typically have more longevity than a personal, so once you discover one you wish you recognize you’ll still use them as long as you would like .
How to Highlight a Product in Photoshop
We are going to show you how to highlights Image thought t-shirt in Photoshop and Cheney color using the solid color option. so let’s go ahead and drag in a plain t-shirt image in Photoshop. So,We’ve got this image drag and drop into Photoshop.
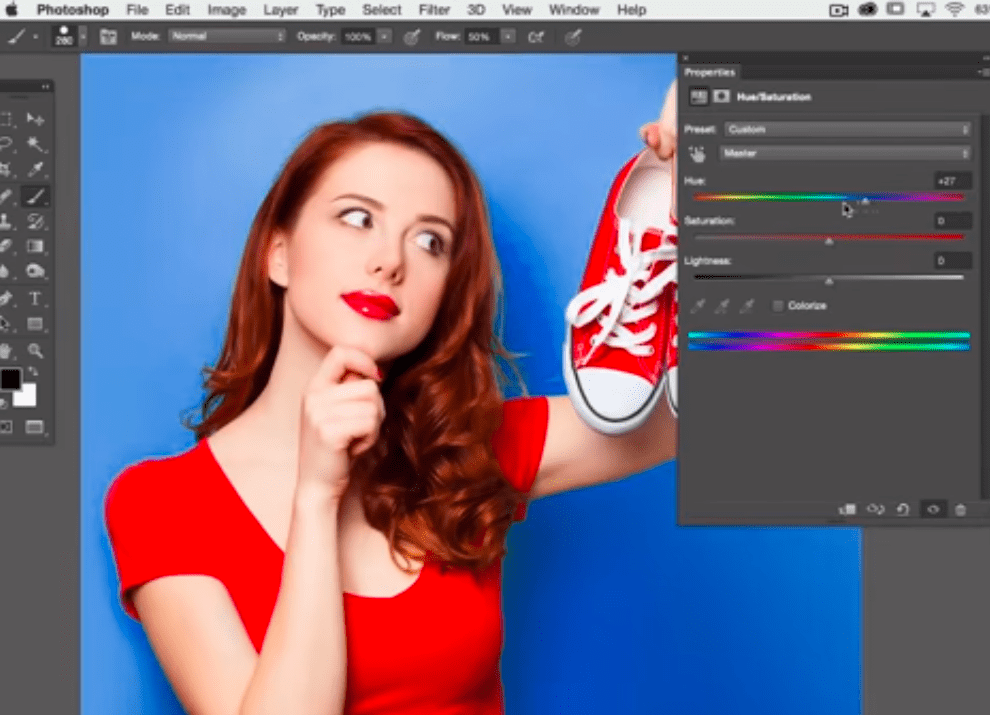
First of all you can see it’s in different angle so we’ll modify the shape. so, right click the start and that’s the first of all that’s to this so let’s all rotate it to an angle.
Use Hue/Saturation
We have do is add a hue/saturation adjustment layer so now We are gonna go up here to layer. we’re gonna go down here to new adjustment layer and We are gonna go to hue/saturation.
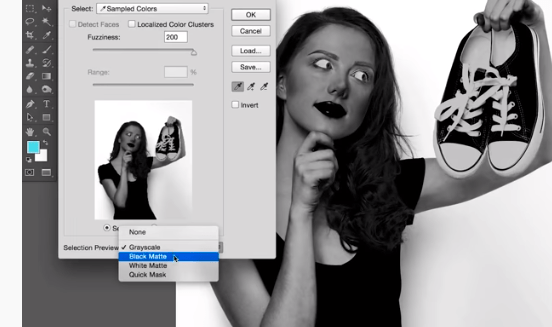
Hue/Saturation that’s okay and now it’s going to load the selection that we had active into my hue saturation adjustment layer. now all we have to do is take our hue slider here and start moving this to the left of the right.
We can see because we selected out our background now we are free to change it to whatever color.we can change my saturation here as well if we want this to be you know a little bit less color. we can go a little bit more color with it whatever.
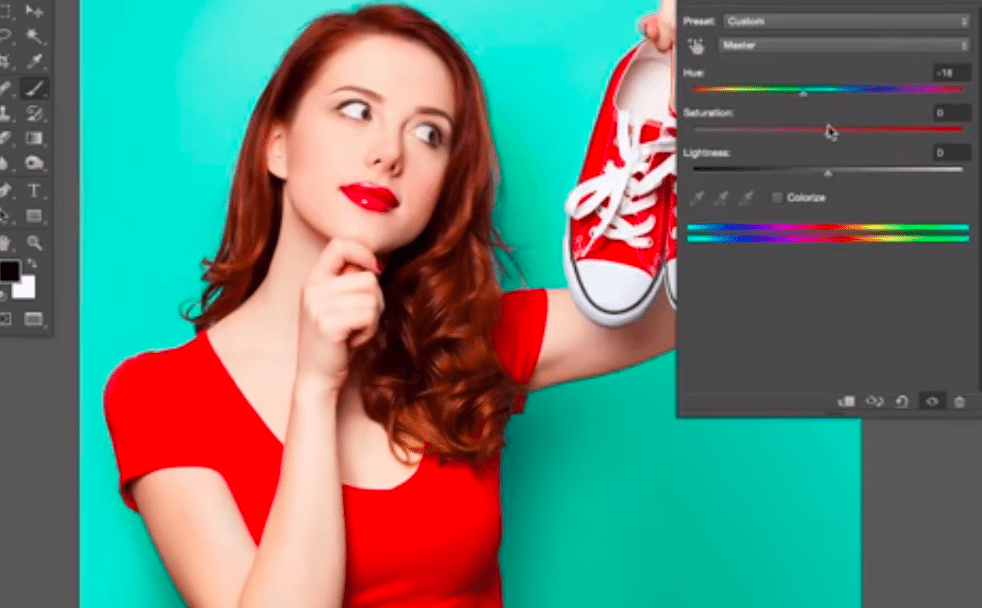
We want we can do right here with the hue/saturation slider all right let’s say we want to pull it. we like a little bit towards green we think that’s actually pretty nice. so we’re gonna turn that off and on.
How to Make Cutout Product and White Background in Light room & Photoshop
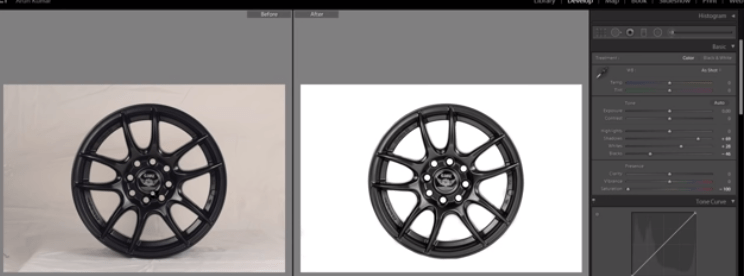
Now, we’ll Learn you how to make a white background. so, you can make why white background in Light-room camera or in Photoshop but the issue is if you have thousands of images, then it is not possible to do a one by one image in Photoshop.so, here is a very special trick in the Light room or you can see in the camera.
Cutout Product and White Background In Lightroom
By Using ,that trick you can create a very nice clean white background in the left side. you can see original image and in the right side.this is heritage. We have added this image in the Light room. so, let’s see how to get this type of a white background in the right row.
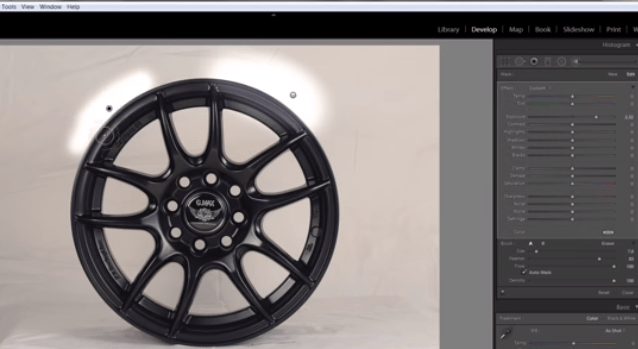
So,why We are in the Light room cc here you can see the or in the electron CC and the develop module. so, this is the develop module in the right room.
Use Adjustment Brush Tools in Light room
We go to the brush tool adjustment brush tool click on there then you will get so many options out there. the hidden secret is here auto mask. if you want to make Cutout Product and white background then you have to work with the auto marks. firstly We will teach you-
What is auto mask?
How to works out?
We will increase the exposure and want to make a cutout product and white background in Photoshop. We are applying this brush on here and making Cutout Product white background but the effect is getting on this wheel also so this is not the right way.if We make a new brush click on done and again go to this version.
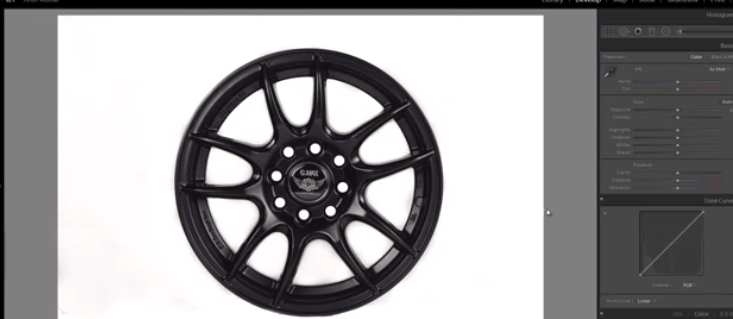
Now, This time we will apply mark on this now in increase the exposure. you can address adjust the brush size.we will apply this pressure around here now you can see we are not getting any effect of this brush inside of this wheel.this Auto mask within few second you can create a very nice looking professional background.
Then We want to delete this pressure click on there and hit delete.so it is very easy to create a white background using this command in the Light room.
Cutout Product and White Background In Photoshop
We will do the same thing in the Photoshop camera we want to open it. We will create a new copy by pressing Ctrl J click on this camera. again there is a brush tool click on this brush tool.
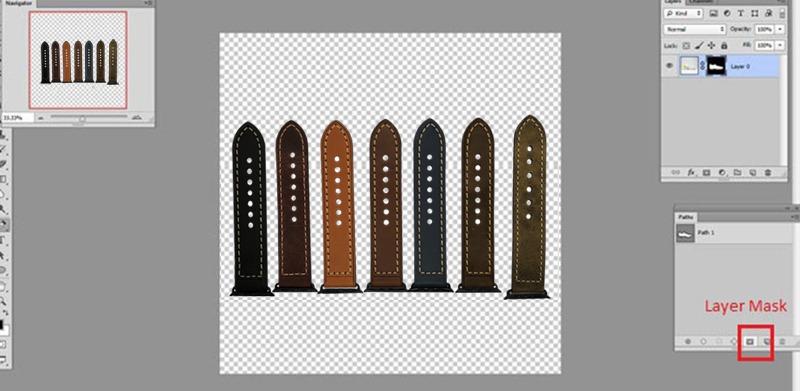
Then you will get the same thing here Auto mask click on this auto mask adjust the brush adjust the exposure of this background.
We have achieved this result and same thing We will do here click on. OK. now this is before and this is after. so. in this way you can Learn create white backgrounds for your product.

