


Are you a sports photographer who wants to learn how to do sports photography background editing in Photoshop? If so, you’ve come to the right place. We’ll walk you through all the steps for enhancing sports photography digital backgrounds, from essential equipment to advanced editing techniques. With our expert tips, you’ll be able to take your sports photography to the next level.
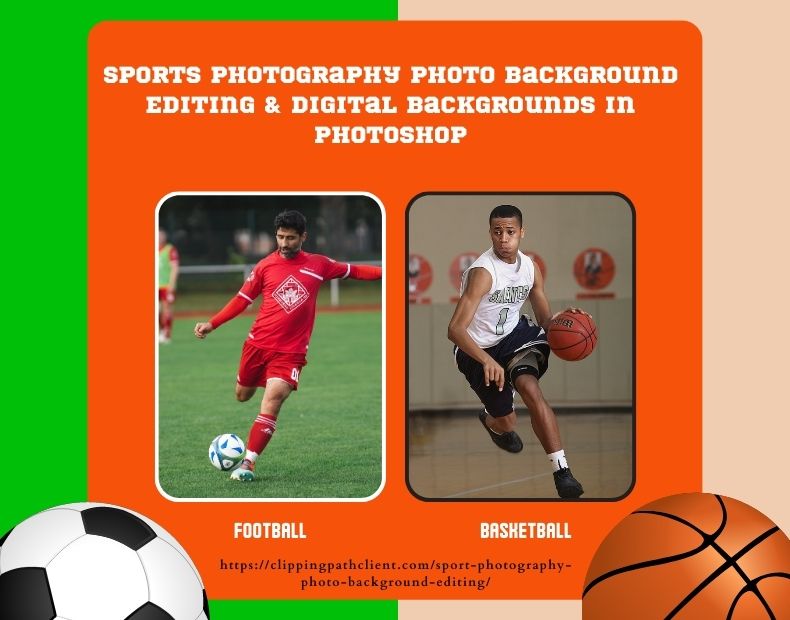
Introduction to Sports Photography Background Editing
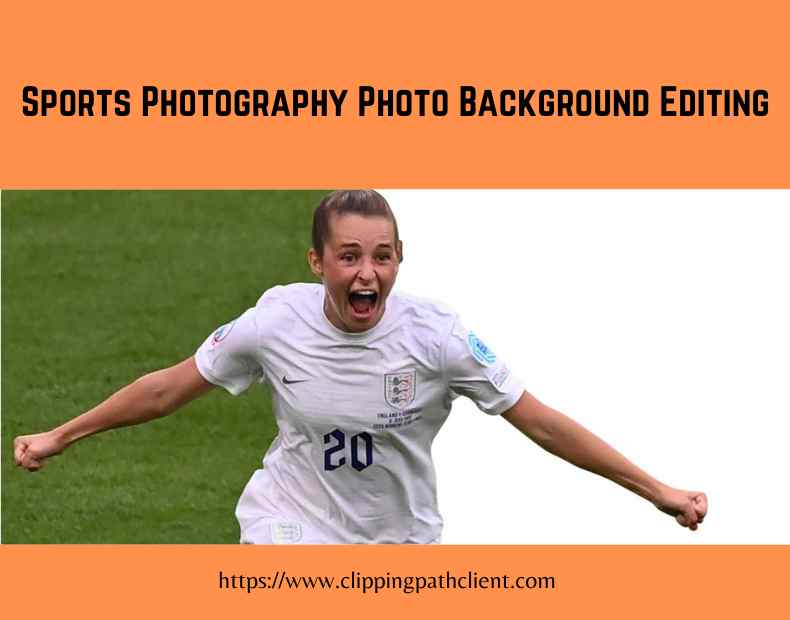
Professional Sports photography is one of the most challenging styles of photography. Capturing dynamic action shots and compelling images requires skill, knowledge, and practice. It’s important to pay attention to the environment when you’re shooting since this will greatly impact the quality of your images. Backgrounds are often overlooked in sports photography but can make or break an image. You can take your sports image to the next level with the right background. But how do you go about editing sports backgrounds? Here, we’ll provide you with all the tips and tricks you need to get started.
Essential Equipment for Sports Photography Background Editing
The first step to editing sports photography backgrounds is to make sure you have the right equipment. If you’re using a digital camera, you’ll want to ensure you have a good lens for capturing the action. A telephoto lens is a great option for sports photography, as it allows you to capture faraway objects with great clarity. You’ll also want to ensure you have a tripod for stabilizing your camera. Tripods are essential for capturing sharp images, especially sports photography, since you’ll be shooting in low-light conditions.
Finally, you’ll want to make sure you have a computer and software for editing your images. Photoshop is a great choice, as it offers a range of features and tools for enhancing photos.
Tips for Capturing the Perfect Sport Photo Background
Once you have the right equipment, you can start capturing the perfect sports photo background. Here are some tips to help you get the best results: -Look around for interesting backgrounds. Don’t just focus on the action; look for potential backgrounds to make your images pop. Look for interesting textures, colors, and shapes that complement your subject. -Position yourself in the right spot.
You’ll need to find the right spot to get the best angle and composition. Think about where you want the background to be about the action. -Focus on the details. Pay attention to the small details in the background, such as trees, buildings, or other objects. These can add depth and interest to your images. -Be aware of the light. Pay attention to the lighting in the background, as this can greatly impact the final image. You’ll want to ensure the background is properly exposed, so it doesn’t overpower the subject.
Selecting the Right Sport Photo Background
Once you’ve captured the perfect sports photo background, it’s time to select the right one. A few things to consider when selecting a background are color, texture, and composition. Here are some tips for selecting the right background for your sports photos: -Choose a background that complements the action. The background should be in harmony with the action to enhance the image rather than detract from it. -Think about color.
Color can have a big impact on the overall impact of an image. Choose a background color that complements the action, such as a blue sky or green grass. -Pay attention to texture. Texture can add depth and interest to an image and help draw the viewer’s eye to the action. Look for interesting textures such as clouds, rocks, or trees. -Keep the composition simple. The background should be simple and uncluttered so that it doesn’t distract from the action.
How to Edit Sports Photography Backgrounds in Photoshop
Once you’ve selected the right sports photo background, it’s time to edit it in Photoshop. Here are some tips for Sports Photography Photo Background Editing in Photoshop:

Clipping path the image. Clipping path will help you refine the composition so that the background isn’t too distracting. -Adjust the brightness and contrast. Brightness and contrast can help you make the background stand out or blend in with the action. -Tweak the colors. You can use color adjustments to enhance the colors in the background. For example, you can increase the saturation to make the colors pop or adjust the hue to fine-tune the colors. -Sharpen the image. Sharpening the image can help make the background stand out, and it can also help draw the viewer’s eye to the action. -Add lens blur. Lens blur can help blur out any distracting elements in the background, such as trees or buildings.
Tips for Enhancing Sport Photography Backgrounds with Presets
Presets can be a great way to enhance sports photography backgrounds quickly. Presets are pre-made filters that can adjust an image’s colors, brightness, and contrast. Here are some tips for enhancing sports photography backgrounds with presets:

Choose the right preset. There is a range of presets available, so make sure you choose one that’s right for your image. You can also tweak the settings to get the perfect look. -Pay attention to the colors. Color is important in sports photography, so adjust the colors to enhance the background. -Tweak the brightness and contrast. Brightness and contrast can help make the background stand out or blend in with the action. -Sharpen the image. Sharpening the image can help make the background stand out, and it can also help draw the viewer’s eye to the action.
How to Use Sports Photography Photo Background Editing Software
In addition to Photoshop, several other software programs can be used to edit sports photography backgrounds. Here are some tips for using sports photo editing software: -Choose the right software. Make sure you choose a program with the features and tools you need to edit sports photography backgrounds. -Learn the basics. Make sure you understand the basics of the program before you start editing. Take some time to familiarize yourself with the menus and tools. -Experiment with the features. Don’t be afraid to experiment with the features and tools to get the results you want. -Save your work. Make sure you save your work regularly so you don’t lose any of your changes.
Advanced Sports Photography Photo Background Editing Techniques
Once you’ve mastered the basics of sports photography background editing, you can start experimenting with more advanced techniques. Here are some tips for advanced sports photography background editing: -Use layers. Layers can be used to create depth and interest in your images. For example, you can use layers to create a sky effect or add a foreground to the background. -Experiment with textures. Textures can help add interest to your images, and they can also help draw the viewer’s eye to the action.
Create a vignette. A vignette is a darkening of the edges of the image, which can help draw the viewer’s attention to the action. -Add a tilt-shift effect. Tilt-shift effects can help create a miniature effect, making the background look like it’s been shrunk down.
Common Mistakes to Avoid When Editing Sport Photography Backgrounds
When it comes to editing sports photography backgrounds, there are a few mistakes that you’ll want to avoid. Here are some common mistakes to avoid when editing sports photography backgrounds: -Don’t use distracting backgrounds. Make sure the background isn’t too distracting or overpowering. -Don’t over-edit the colors. Too much color can make the image look unnatural. -Don’t over-sharpen the image. Over-sharpening can make the image look grainy and distorted. -Don’t use too many filters. Too many filters can make the image look overdone and artificial.
Sports Photo Editing in Photoshop
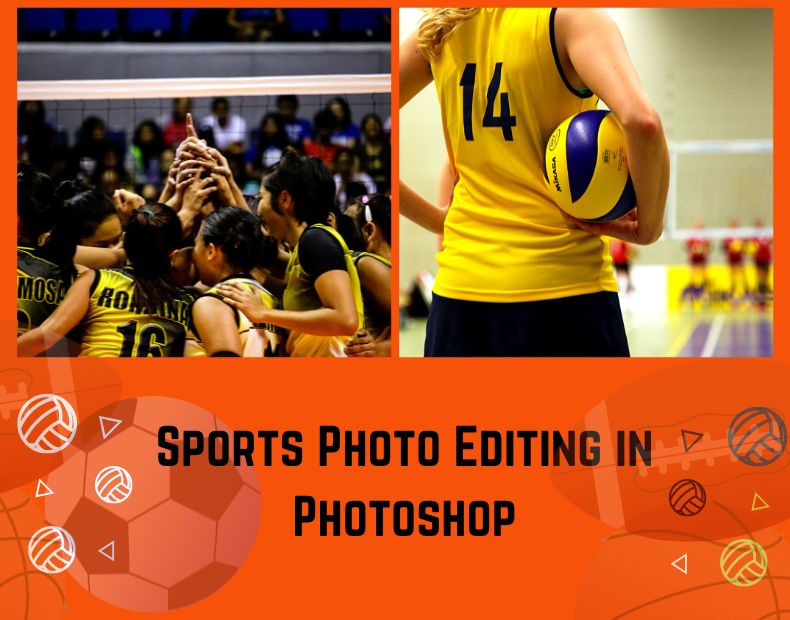
Sports photography is an art in itself – capturing the perfect moment in time and immortalizing it in a single frame. But it’s not just about capturing the moment – post-processing is critical to any sports photo shoot. With the right software and techniques, you can take your photos to the next level and make them truly stand out. This comprehensive guide will look at sports photo editing in Photoshop, including everything from basic techniques to creating special effects. By the end, you’ll have all the tools you need to turn your sports photos into works of art!
Introduction to Sports Photo Editing in Photoshop
Photoshop is one of the most widely used photo editing software programs, and it’s no wonder why – it offers a wealth of features and tools to help you create stunning images. The possibilities are endless, from basic photo retouching to creating complex special effects. Sports photography is no exception – with the right techniques, you can transform your photos into something truly special.
Getting to Know Photoshop
Before you start working on your sports photos, you must know Photoshop. Take some time to explore the various tools and features, and get a feel for how the program works. If you’re new to Photoshop, there are plenty of tutorial videos and online resources to help you get up to speed quickly. Once you’ve familiarized yourself with the basics, it’s time to start working on your photos. There are a few key concepts to keep in mind when working with sports photos.
Sports Photo Editing Basics
The first step in sports photo editing is to choose the right color palette. If you’re working with a sports team, you can use the team’s official colors to add a professional touch to your photos. If not, you can use complementary colors to create a more dynamic look. Another important aspect of sports photo editing is to focus on the details. Look for areas where you can make small adjustments to enhance the overall image. This could include retouching blemishes or adding subtle effects to make the photo pop.
Choosing the Right Color Palette
Choosing the right color palette is an important part of any sports photo edit. The colors you choose will depend on the team you’re shooting for and the overall look you’re trying to achieve. If you’re shooting for a professional team, you may want to use the team’s official colors. If you’re shooting for a school or other amateur team, you can mix and match different colors to create a unique look. When choosing colors, it’s important to consider how they will look together. You don’t want to use too many colors, as this can make the image look too busy. Instead, try to stick with a limited number of colors and use them to create a cohesive look.
Working with Layers in Photoshop
Photoshop’s layers are one of the most powerful features in sports photo editing. Layers allow you to combine different elements of an image and make adjustments without affecting the original image. This is especially useful when applying effects to photos, as you can make changes without altering the original. When working with layers, it’s important to keep them organized. This will help you keep track of your changes and make it easier to make adjustments later on. You can also create separate layers for each element, such as background and foreground, to make it easier to make changes to specific parts of the image.
Retouching Techniques for Sports Photos
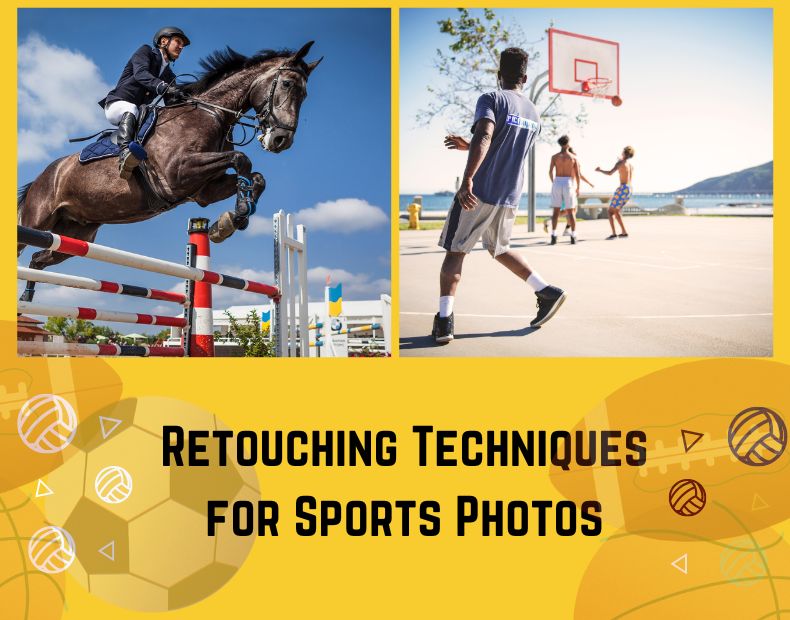
Once you’ve chosen the right color palette and organized your layers, it’s time to start retouching your sports photos. This is where you can make your photos stand out by making subtle color and tone adjustments. One of the most common retouching techniques is color correction. This involves adjusting the colors in the photo to make them more vibrant or muted. You can also use color correction to make certain colors stand out more or to create a more even tone. You can also use retouching techniques to enhance the contrast and sharpen the image. This can help bring out the details in the photo and make it look more professional.
Managing Exposure for Sports Photos
Exposure is another important aspect of sports photo editing. The photo will look too bright and washed out if the exposure is too high. The photo will look too dark and muddy if the exposure is too low. It’s important to get the exposure right – not too bright or too dark. When adjusting the exposure, you can use Photoshop’s Levels and Curves tools to adjust the brightness and contrast. You can also use the Shadows and Highlights tools to make specific areas of the photo brighter or darker.
Creating Special Effects & Clipping Path for Sports Photography
Once you’ve got the basics down, you can create more complex special effects. Photoshop offers a range of tools and filters to help you create unique looks. The possibilities are endless, from adding lens flares to creating a vintage feel. To create special effects and clipping path service, you can use Photoshop’s Blending Modes. These allow you to combine two different layers and create a unique look. You can also use the Brush tool to paint in effects or add textured layers to create an even more unique look.
Adding Text to Sports Photos in Adobe Photoshop
Text can be a great way to add a personal touch to your sports photos in adobe photoshop. Whether it’s a team name or a motivational quote, text can help make your image stand out. When adding text to a photo, it’s important to make sure it’s legible and stands out from the background. You can use Photoshop’s Type tool to add text to your image and adjust the font, size, and color. You can also use the Brush tool to create custom text effects.
Sharing Your Sports Photo Editing Service
Once you’ve finished editing your sports photos, the next step is to share them with the world. You can upload them to social media sites such as Facebook and Instagram or a photo-sharing service such as Flickr or Shutterstock. No matter how you share your photos, making sure they look their best is important. Make sure to optimize your photos for the web and add any relevant tags or keywords to make them easier to find.
Final Words Sports Photos in Photoshop
Sports photography background editing can be a great way to take your images to the next level. You can create stunning images with great backgrounds with the right equipment and software. With these expert tips, you’ll be able to enhance your sports photography backgrounds and take your images to the next level. You might be surprised to see different interesting sports on different TV channels or in newspapers. Editing sports photos in Photoshop often plays an important role in these great sports photos. With the right equipment and editing techniques, you can create beautiful sports photos with great backgrounds. So what are you waiting for? Get out there and start capturing the perfect sports photos!
FAQs
How do you edit sports photography pictures?
Editing sports photography pictures involves adjusting the color, brightness, and contrast to bring out the best in the image. Cropping the picture can also help to focus on the subject, while removing any unnecessary background. It’s important to remember to maintain the integrity of the image while editing.
How do you blur the background in sports photography?
If you want to blur the background in sports photography, you can try using a wide aperture setting on your camera. This will create a shallow depth of field, making the subject appear sharp while blurring the background. You can also try using a longer lens or standing closer to the subject to achieve this effect.
How can I improve my sports photos?
If you want to improve your sports photos, there are a few things you can do. First, try to get as close to the action as possible. Use a fast shutter speed and burst mode to capture fast movements. Use a telephoto lens for better zoom. Lastly, pay attention to lighting and composition.
Can you enhance an image in Photoshop?
Using Photoshop, we can enhance images by adjusting brightness, contrast, color, and sharpness. You can also use tools like the healing brush, clone stamp, and content-aware fill to remove blemishes, unwanted objects, and distractions from your photos. With practice, we can create stunning images that look better than the original.